Classic Cannoli Squares Recipe
If you love the crisp, lightly sweet crunch of a cannoli shell and the lusciously creamy ricotta filling, but crave something easier to slice and serve at parties, you’ve come to the right place. This Classic Cannoli Squares Recipe takes all the best parts of a traditional Sicilian cannolo — tangy, sweetened ricotta, citrus and vanilla brightness, and chocolate-speckled texture — and transforms them into a simple, elegant tray bake. The result is dessert that’s portable, crowd-pleasing, and every bit as indulgent as piping a traditional cannoli.
Below you’ll find a chef’s approach to making the best cannoli squares: clear ingredient lists, step-by-step techniques, troubleshooting tips, creative variations, and serving ideas. Whether you’re an experienced home baker or trying this for the first time, this post will walk you through everything you need to succeed.
Why make Cannoli Squares?
Turning a classic cannoli into squares solves common problems: assembly time, serving logistics, and storage. A square format:
- Lets you prepare ahead and refrigerate or freeze.
- Is easier to slice for big gatherings or boxed treats.
- Keeps the creamy filling stable between two crust layers.
- Still delivers the signature flavors — ricotta, citrus, chocolate, and a hint of spice.
This particular Classic Cannoli Squares Recipe balances a tender, buttery shortbread-style base with a velvety ricotta-mascarpone filling dotted with chocolate chips and brightened with orange zest. It’s designed to be forgiving yet refined.
Recipe at a glance
Yield: about 16 squares (9×13-inch pan)
Prep time: 35–45 minutes (plus 1.5–2 hours chilling)
Bake time: 20–25 minutes
Total time: ~3 hours (includes chilling)
Ingredients
For the crust (bottom and crumb topping)
- 1 cup (225 g) unsalted butter, cold and cubed
- 1 cup (200 g) granulated sugar
- 2 large eggs, room temperature
- 1 tsp pure vanilla extract
- 2 1/2 cups (320 g) all-purpose flour
- 1/2 tsp fine sea salt
- 1/2 tsp baking powder
For the cannoli filling
- 2 cups (480 g) whole-milk ricotta (see tips on draining below)
- 1 cup (225 g) mascarpone cheese, room temperature (or use all ricotta if preferred)
- 3/4–1 cup (90–120 g) powdered sugar, sifted (adjust to taste)
- 1 tsp pure vanilla extract
- 1/2 tsp ground cinnamon (optional — adds warmth)
- Zest of 1 medium orange (or 2 tsp) — optional but recommended
- 1/2 cup mini semisweet chocolate chips (plus extra for sprinkling)
- 1–2 tbsp heavy cream (only if needed to loosen)
For finishing
- 1/4–1/3 cup chopped shelled pistachios or more mini chocolate chips (optional)
- Powdered sugar for dusting
- Melted dark chocolate for drizzling (optional)
Equipment
- 9×13-inch baking pan (or 11×7 for thicker bars — adjust baking time)
- Stand mixer or hand mixer (helpful but not required)
- Fine-mesh sieve or cheesecloth (for draining ricotta)
- Zester or microplane
- Spatula, mixing bowls, and measuring tools
- Parchment paper (for lining pan)
Step-by-step: Make the crust
- Preheat and prep: Preheat oven to 350°F (175°C). Line a 9×13-inch pan with parchment paper, leaving an overhang to lift the bars later.
- Cream butter and sugar: In a mixer fitted with the paddle attachment (or use a bowl and sturdy wooden spoon), cream the cold cubed butter with granulated sugar until the mixture looks sandy but begins to hold together — about 2–3 minutes. Using cold butter gives you a slightly textured shortbread that bakes into a tender, slightly crumbly base.
- Add eggs & flavor: Beat in the eggs and vanilla just until combined. Scrape down the bowl.
- Add dry ingredients: Whisk flour, salt, and baking powder together in a separate bowl. Add to the butter mixture and mix on low until a soft dough forms. It should be moist and slightly tacky but not sticky.
- Press into pan: Reserve about 1/2 cup of dough for a crumb topping (if you want a streusel-like top). Press the rest evenly into the prepared pan — use an offset spatula or lightly floured fingers to get a smooth, even layer.
- Parbake crust: Bake the crust for 15–18 minutes, until it’s set and beginning to color around the edges. Remove from oven and let cool while you prepare the filling.
Step-by-step: Make the filling
- Drain the ricotta (very important): For the creamiest filling, you must drain excess liquid from ricotta. Place ricotta in a fine-mesh sieve lined with cheesecloth or a double layer of paper towels set over a bowl. Refrigerate for at least 30–60 minutes. If your ricotta is very dry, shorten the time — the goal is thick, scoopable ricotta.
- Whip ricotta & mascarpone: In a large bowl, beat drained ricotta with mascarpone until smooth and lump-free. A few small lumps are fine, but aim for a silky texture. If you want ultra-smooth, press the mixture through a fine sieve.
- Sweeten & flavor: Add sifted powdered sugar, vanilla, orange zest, and cinnamon (if using). Beat until incorporated. Taste and adjust sweetness — some ricotta tastes tangier than others.
- Texture check: If the filling is too firm, add 1 tablespoon of heavy cream at a time until it reaches a pipeable but stable consistency. You want a thick spreadable filling that will hold when chilled.
- Fold in chocolate: Gently fold in mini chocolate chips. Reserve a few to sprinkle on top.
Assemble and chill
- Spread the filling: Once the crust is completely cool, spread the ricotta-mascarpone filling evenly over the crust using an offset spatula. Aim for a smooth top.
- Add topping: Crumble the reserved dough over the filling for a streusel-like top, or press it gently into pieces and scatter. Alternatively, sprinkle chopped pistachios or extra chocolate chips.
- Chill thoroughly: Cover and refrigerate for at least 1–2 hours (overnight is best) to let the filling firm up and flavors meld. This chilling step is what makes cannoli squares hold clean edges when sliced.
- Finish before serving: Dust with powdered sugar, drizzle with melted chocolate, or scatter more pistachios right before serving.
Serving suggestions
- Serve chilled or at cool-room temperature. Chilling accentuates the creamy texture and keeps clean slices.
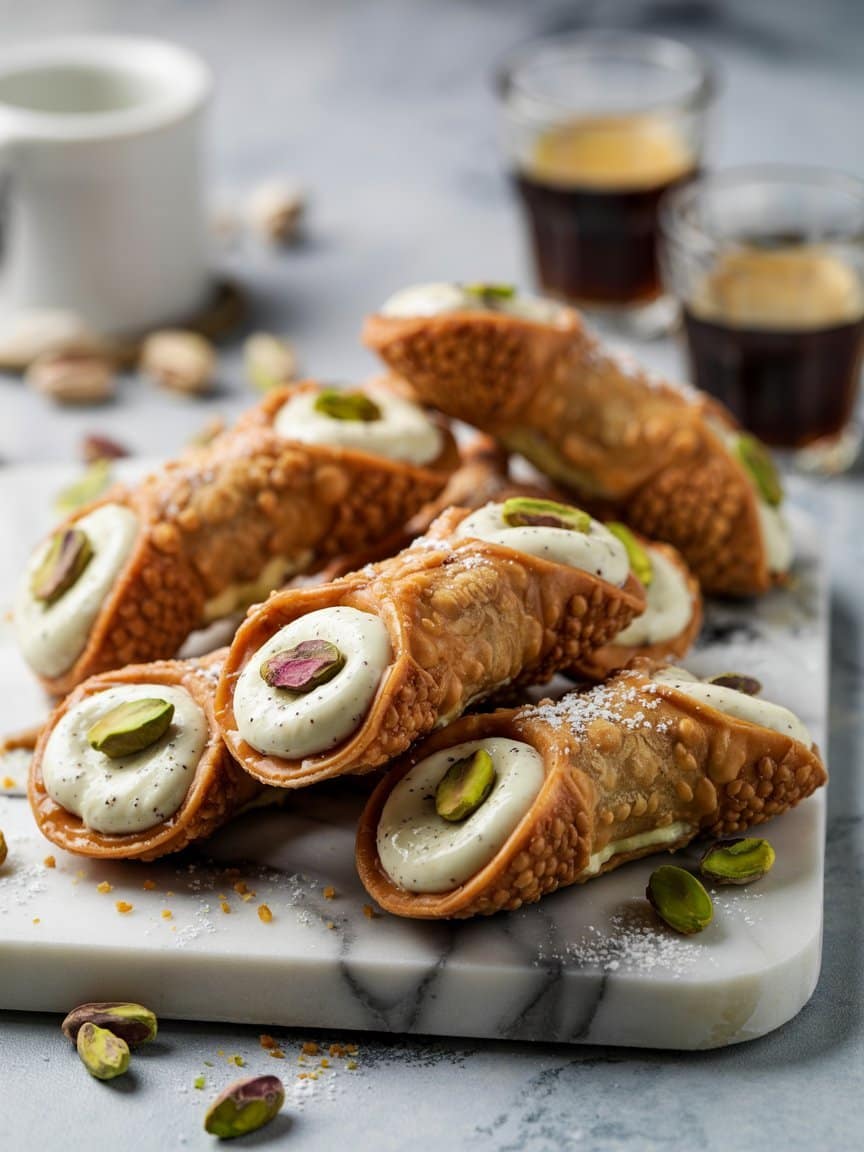
- Pair with espresso, cappuccino, or a dessert wine like Vin Santo or Moscato d’Asti.
- Garnish with fresh orange zest, candied orange peel, or a touch of sea salt flakes on the chocolate drizzle for contrast.
- For parties, cut into bite-sized squares and arrange on a platter. Use mini paper liners for a bakery-style presentation.
Chef tips & technique notes
1. Use whole-milk ricotta
Whole-milk ricotta has the best flavor and richness. Part-skim ricotta tends to be drier and grainier. Always drain ricotta well — watery ricotta yields a runny filling and soggy crust.
2. Mascarpone vs. all-ricotta
Mascarpone adds silkiness and stability. If you prefer a lighter texture, replace mascarpone with an extra 1 cup of ricotta and increase powdered sugar slightly. If you want a more authentic cannoli flavor reminiscent of ricotta filling, use 100% ricotta but be mindful of texture.
3. Sift the powdered sugar
Sifting powdered sugar prevents lumps and helps keep the filling smooth.
4. Chocolate choices
Mini chips are ideal for even distribution. For bolder bites, use chopped dark chocolate or chocolate chunks. If you prefer no chocolate, omit and fold in chopped candied fruit or chopped toasted pistachios.
5. Orange zest is crucial
A little citrus brightens the whole dessert and cuts through richness. Lemon can be used as an alternative for a sharper edge.
6. Make-ahead & transport
These squares are perfect to make a day ahead. Keep chilled and transport in a cool container. For longer transport, freeze on a tray and pack in a cooler; thaw in the fridge before serving.
Variations to try
Chocolate-hazelnut Cannoli Squares
Swirl 1/4 cup chocolate-hazelnut spread into the filling before chilling and add chopped toasted hazelnuts on top. The hazelnut profile pairs beautifully with the ricotta.
Pistachio Cannoli Squares
Fold 1/2 cup finely chopped toasted pistachios into the filling and press crushed pistachios on top for color and crunch. Use pistachio paste for a more intense nutty flavor.
Gluten-free Cannoli Squares
Swap the all-purpose flour for your favorite 1:1 gluten-free baking blend. Add 1/2 tsp xanthan gum if the blend doesn’t contain it. The crust texture may be a bit more tender but still delicious.
Vegan/Dairy-free version
This takes more adaptation: use a rich vegan cream cheese + drained cultured coconut yogurt in place of ricotta/mascarpone; use vegan butter and an egg replacer (flax or aquafaba) for the crust. Expect a slightly different texture — but a tasty alternative for plant-based diets.
Cannoli Squares with Phyllo
For a flakier approach, line the pan with layers of buttered phyllo (6–8 sheets for a sturdier base), bake until golden, then add the filling and chill. The phyllo adds a delicate crispness but is a departure from the shortbread-style crust.
Troubleshooting common problems
My filling is runny
- Likely under-drained ricotta or too much liquid added. Drain ricotta longer and chill filling to firm up. If needed, fold in 2–3 tbsp of sifted powdered sugar or 2–4 tbsp mascarpone to stabilize.
The crust is soggy
- Possible causes: underbaked crust, over-wet filling, or not fully cooled before spreading. Bake crust until set; allow it to cool completely. For extra protection, brush cooled crust with a thin layer of melted white chocolate before spreading filling — it creates a moisture barrier.
Filling tastes grainy
- Ricotta quality matters. For grainy texture, press the whipped ricotta through a fine sieve or blend in a food processor briefly to smooth. Use mascarpone to round out texture.
Squares fall apart when cut
- Make sure squares are well-chilled. Use a sharp knife warmed under hot water and wiped dry between cuts for clean slices.
Scaling and timing for events
- For a larger crowd, double the recipe and use a 13×18-inch sheet pan, increasing bake time slightly (watch for golden edges). For thicker bars, use an 11×7-inch pan.
- Timeline for entertaining:
- Day 1 morning: bake crust, make filling, assemble, chill.
- Day 1 afternoon/evening: slice and finish (powdered sugar, drizzle) just before guests arrive.
- If you must bake same day, plan at least 4–6 hours total (including draining ricotta and chilling).
Nutrition & allergen notes
This recipe contains dairy, gluten, eggs, and may contain nuts if you add pistachios. For dietary modifications (gluten-free, vegan), refer to the variations section. Because the bars include mascarpone and butter, they’re rich and best enjoyed in small portions.
Presentation ideas (because we eat with our eyes)
- Serve each square with a tiny dollop of lightly sweetened whipped cream and a single candied orange slice on top.
- Place squares on decorative paper doilies and sprinkle with pistachio dust for pop.
- For an elegant buffet, arrange squares on a tiered cake stand with labels (e.g., “Classic Cannoli Squares — contains dairy & gluten”).
- Create a “build-your-own” dessert plate: pair a square with a scoop of vanilla gelato, a drizzle of espresso syrup, and a dusting of cocoa.
Frequently asked questions
Can I use ricotta from a tube or container?
Use fresh ricotta from the dairy case, not the ricotta in a tube (which is often a processed ricotta spread). If your ricotta is watery, draining is essential.
How long do cannoli squares last?
Stored in an airtight container in the refrigerator, they keep well for 3–4 days. Avoid leaving them at room temperature for extended periods.
Can I freeze them?
Yes. Freeze uncut bars on a tray until firm, then wrap tightly and store in a freezer-safe container for up to 2 months. Thaw overnight in the refrigerator before serving.
Can I make this sugar-free?
You can substitute sugar-free powdered sweetener, but texture and sweetness intensity may vary. Test a small batch first.
Final thoughts from the chef
This Classic Cannoli Squares Recipe is one of those desserts that elegantly bridges tradition and convenience. It keeps the soul of the cannoli — creamy, citrusy ricotta and the little pops of bittersweet chocolate — while making it easier to serve, store, and scale. With a few technique-focused steps (especially draining ricotta and chilling thoroughly), you’ll produce neat, silky squares that taste like a special-occasion treat.
The beauty of this dessert is its flexibility: change the nuts, play with citrus, or add a seasonal twist — cardamom in winter or lemon zest in spring. No matter how you riff on it, aim for balance: rich dairy, bright zest, and a crunchy component to complete the experience. I hope this post gives you confidence and inspiration to make cannoli squares that become a regular request at your table.

Classic Cannoli Squares Recipe
Ingredients
For the Crust:
- 1 cup unsalted butter cold and cubed
- 1 cup granulated sugar
- 2 large eggs room temperature
- 1 teaspoon vanilla extract
- 2 ½ cups all-purpose flour
- ½ teaspoon baking powder
- ½ teaspoon salt
For the Cannoli Filling:
- 2 cups whole-milk ricotta cheese well-drained
- 1 cup mascarpone cheese room temperature
- ¾ –1 cup powdered sugar sifted (to taste)
- 1 teaspoon vanilla extract
- ½ teaspoon ground cinnamon optional
- Zest of 1 orange optional but recommended
- ½ cup mini chocolate chips
Optional Toppings:
- Chopped pistachios
- Extra mini chocolate chips
- Powdered sugar for dusting
- Melted chocolate for drizzling
Instructions
- Preheat the oven to 350°F (175°C). Line a 9×13-inch baking pan with parchment paper, leaving overhang on the sides.
- In a large bowl, cream the cold butter and granulated sugar until lightly combined and crumbly.
- Add the eggs and vanilla extract; mix until incorporated.
- In a separate bowl, whisk together flour, baking powder, and salt. Gradually add to the butter mixture to form a soft dough.
- Reserve about ½ cup of the dough for topping. Press the remaining dough evenly into the prepared pan.
- Bake the crust for 15–18 minutes, until lightly golden around the edges. Remove and let cool completely.
- While the crust cools, prepare the filling. In a mixing bowl, beat the drained ricotta and mascarpone until smooth.
- Add powdered sugar, vanilla, cinnamon, and orange zest. Mix until creamy and well combined.
- Gently fold in the mini chocolate chips.
- Spread the cannoli filling evenly over the cooled crust.
- Crumble the reserved dough over the filling or sprinkle with pistachios or chocolate chips.
- Refrigerate for at least 2 hours (or overnight) until fully set.
- Slice into squares, dust with powdered sugar, and drizzle with melted chocolate if desired before serving.
Notes
- Ricotta Tip: Always drain ricotta thoroughly to prevent a watery filling.
- Storage: Store cannoli squares in an airtight container in the refrigerator for up to 4 days.
- Freezing: Freeze uncut bars for up to 2 months; thaw overnight in the refrigerator.
- Variations: Add chopped pistachios to the filling, swap orange zest for lemon, or omit chocolate chips for a more traditional ricotta flavour.
- Serving Tip: Serve chilled for clean slices and the best texture.